So first I'll go over my influences. I have a great many artistic influences but when it comes to watercolor there only a select few I've followed over the years. Charles Reid is one, especially for his use of color and his brush control. I've tried to emulate his loose and expressive style but honestly, that is still a work in progress. Another great influence in terms of color theory is the great Jim Ames. I've posted info about his book on color theory in the past and I still highly recommend everyone checks it out for tips on how to build beautiful values. David Mack is another artist whose work I've appreciated over the years, especially his mix of realism and abstract. There are a great many other artists that I've picked up books and tips from over years and I've borrowed from all of them in one way or another to create my own style.... which i prefer to think as a loose technique with hints of photo realism.
The painting in this post was a recent commission for a baby portrait. When I'm working on portraits I prefer to use photo reference to help capture the essence of my model. Here is the original photo-


The drawing process is always the longest portion of portrait painting for me because I want to get it right, there's no point in doing a portrait if I can't capture the subject... Plus. I'm just an insanely slow drawer... draftsman? Whatever the correct term, I'm slow. I use several methods usually free hand for expressive purposes but for this one i used a loose grid system to capture as an exact of a likeness as I could.
I then built my palette. I only used 3 brushes on this one, all Winsor & Newton brand, a #10 round for the majority of the painting, a flat, mostly for clean edges, and a #4 round for fine detail. Here are the colors I used as well (all Winsor & Newton paints and a John Pike palette, they are the best)-
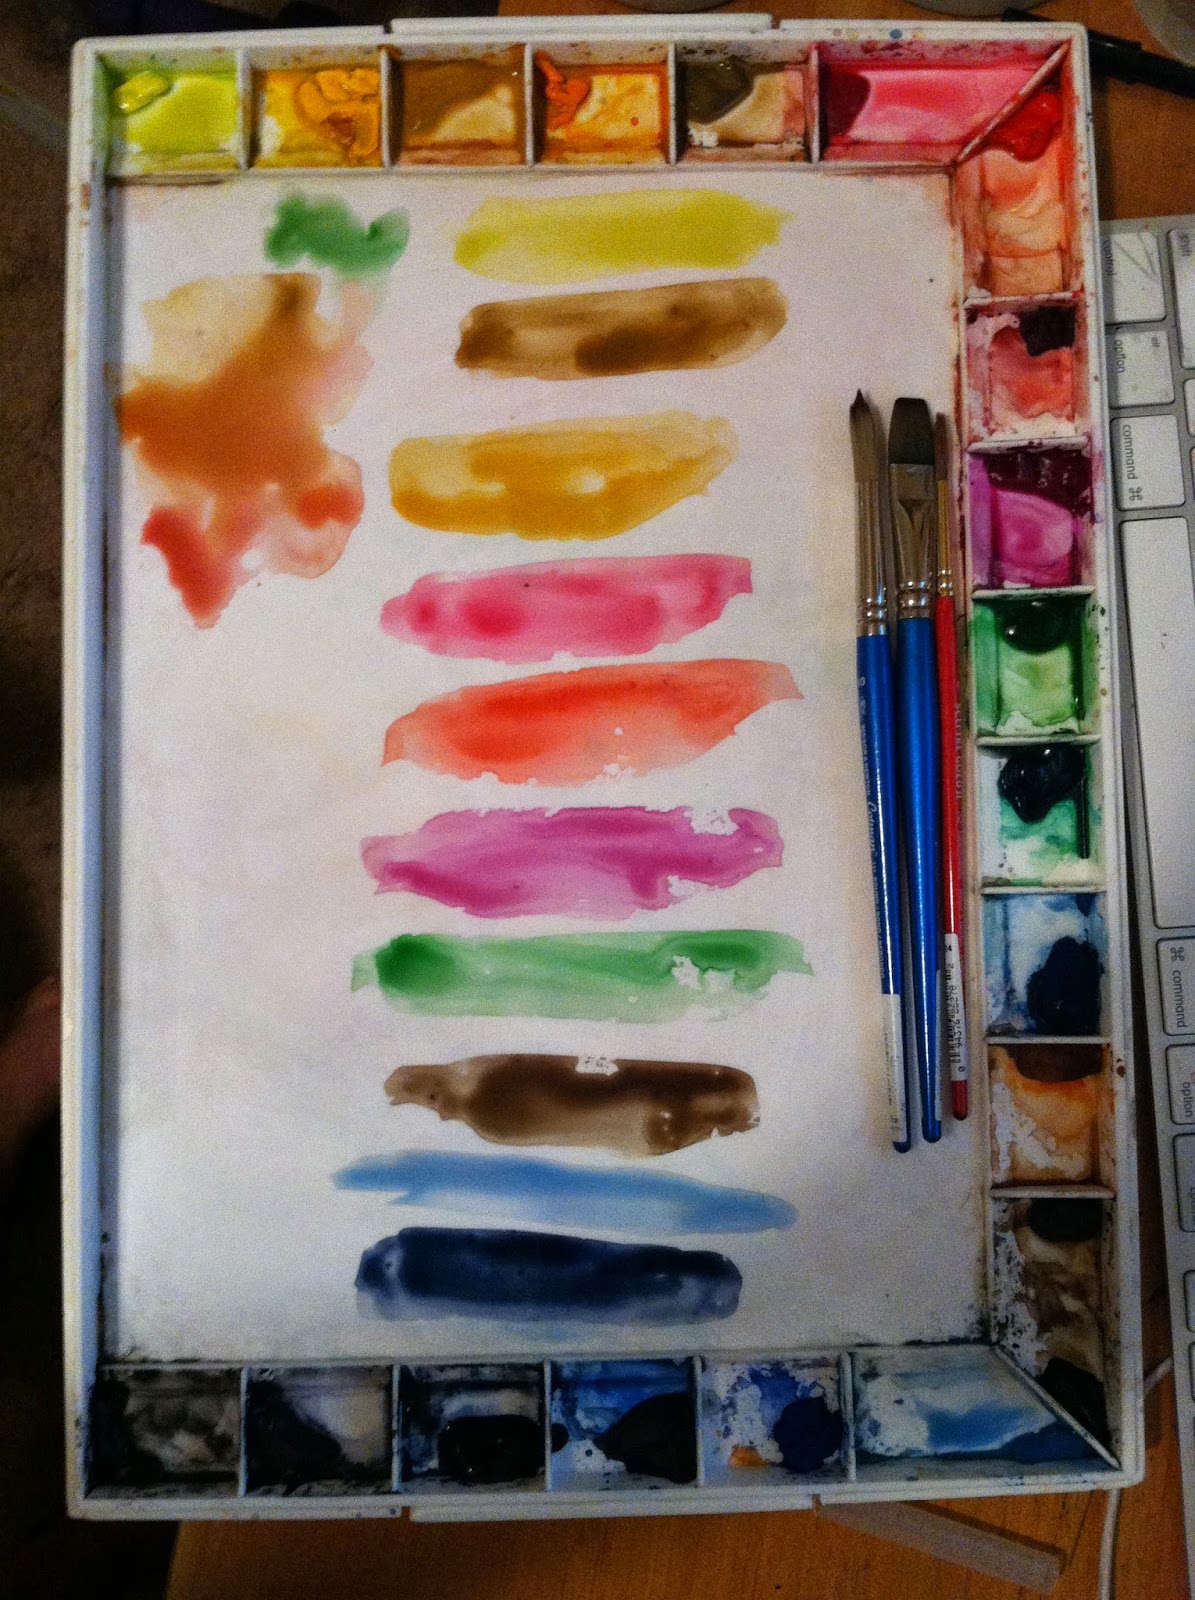 |
| cad yellow light, yellow ochre, raw umber, permanent rose, cad red, hookers green, permanent magenta, sepia, cerulean blue, indigo |


After this point I started to work very quickly.
Soooo, I unfortunately forgot to take some photos of the next steps. I built the background washes and then worked on blocking in and creating the loose details for the flower band in her hair. The band was extremely detailed but I just roughed in the shapes to show some texture and some of the finer details of the flower itself. However, I did not want the flower to be the focal point, so i used some restraint and left it fairly loose in detail. After finishing the flower I then focused on the shape of the hair, I used a warm dark value, a mix of sepia, cad red and small amount of indigo for the darkest shadows. From there I used the small round to build all the details into the painting. The last area I worked on was the shirt, which was just building the shapes of the folds by emphasizing the different values of color in the shadows.
After all that, here is the final product-

I hope this helps for any one starting out and hopefully here soon i will get a tripod and actually starting filming this so I wont miss any steps.
Until next time,
Matt